First of all, be sure to download the free printable that goes along with this craft here! Then follow the step-by-step instructions below.

STEP-BY-STEP INSTRUCTIONS:
1. Decide if you would like to color your own Nativity figures or use the ones that are already color – filled.
2. Print the sheets onto card stock (if possible).
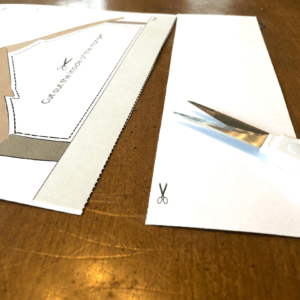
3. Cut along the dotted lines on the sheet with the manger. Also, carefully cut out the inside of the manger along the dotted lines.
4. Fold and crease the solid lines of the manger sheet.
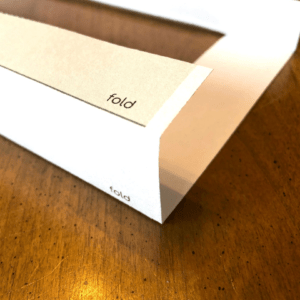
5. Fold the background sheet in half, horizontally, along the solid white line.
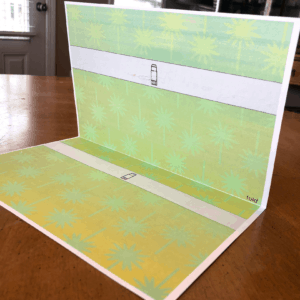
6. Apply glue to both elongated rectangles on the background sheet. (see glue stick icon)
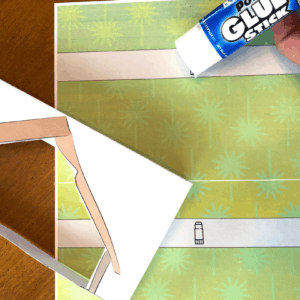
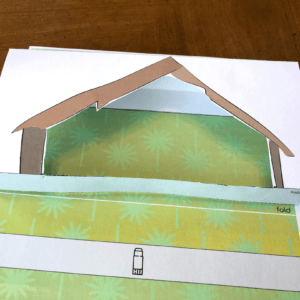
7. Glue the manger cut out, matching the elongated square sections together.
8. Cut out all of the Nativity figures. You don’t have to cut them perfectly, it’s okay to have some white showing around the edges.
9. Fold all of the bottom tabs of the figures along the solid line.
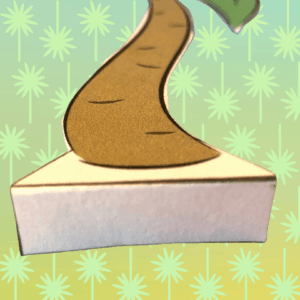
10. Cut the strip for the tree and accordion pleat it.
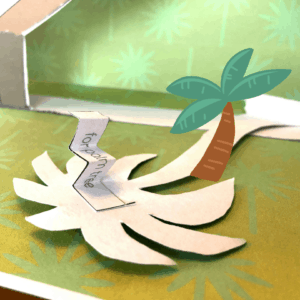
11. Glue one end of the accordion – ed strip to the back of the tree top.
12. Glue the tree onto the background by placing glue on the bottom tab and the end of the accordioned strip.
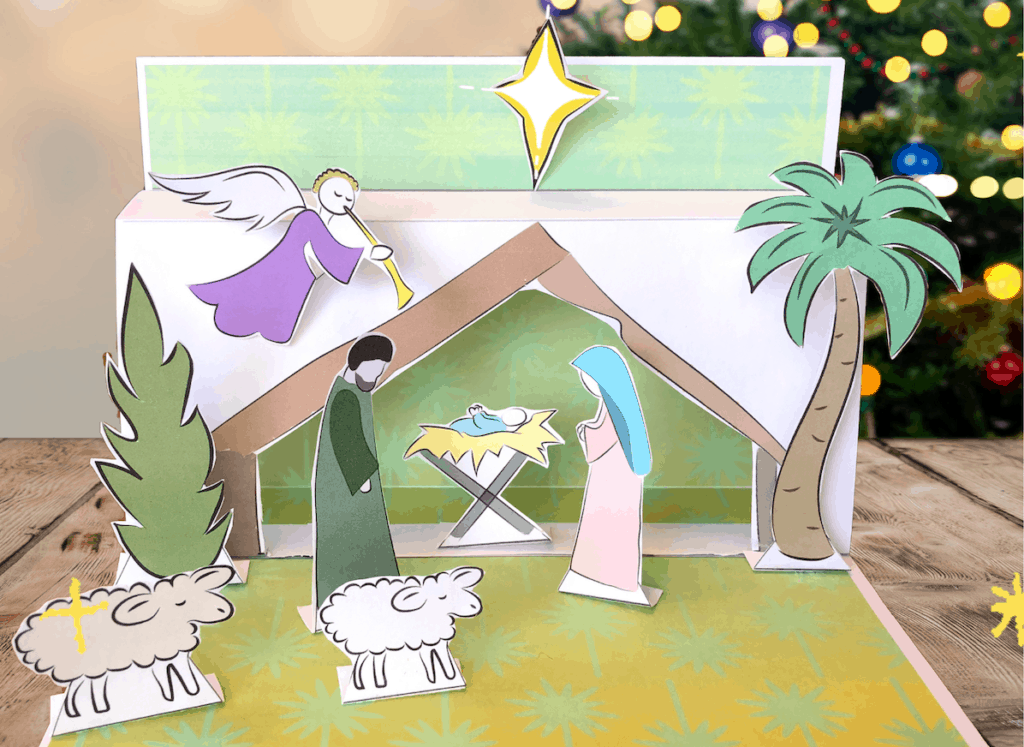
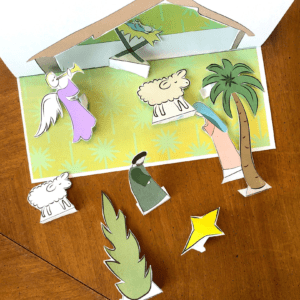
13. Follow these same steps for the angel, except the angel only has the paper strip. Glue it near the top of the manger, as seen in the photo.


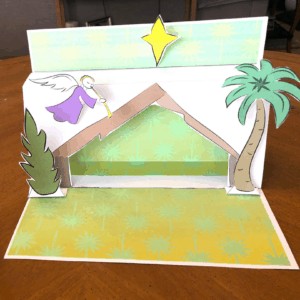
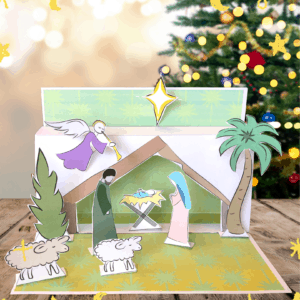
14. Glue the remaining figures onto the scene as desired. You can use the photo for reference!